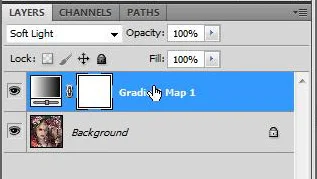
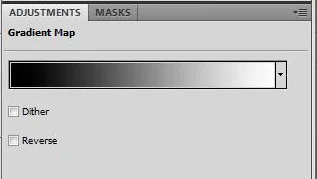
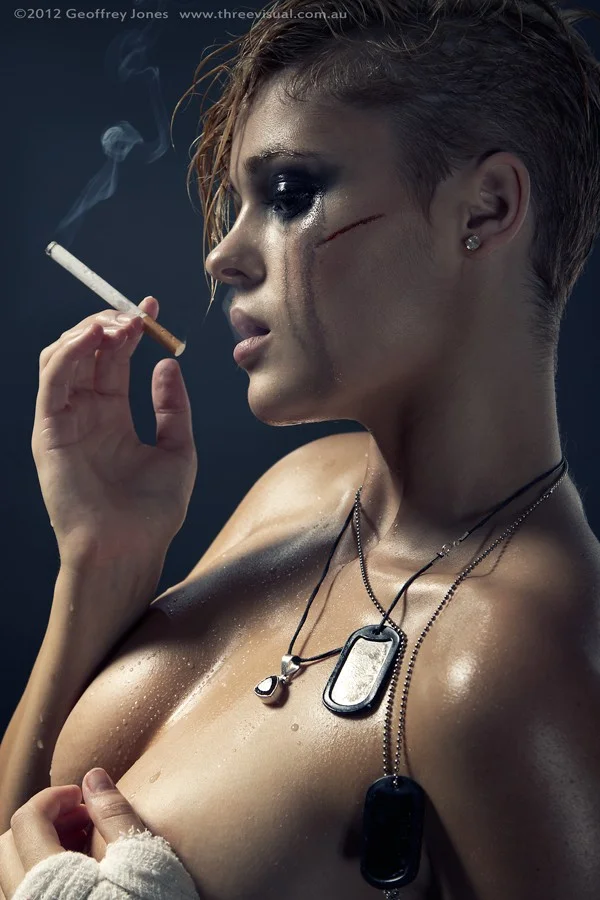
No doubt when editing a photo for a client; be it for fashion, beauty or commercial - you will want to adjust contrast. Let's face it, the basic contrast slider in Photoshop doesn't give you much control, so here's a different method for adjusting contrast using a gradient map. First hit "D" on your keyboard to change to the default foreground and background colours black and white. Then make a new gradient map adjustment layer. You should now have a slightly contrasted black and white image. If your image is in negative, tick the "reverse" box. Now set the layer to soft light.
Click on the gradient bar to open the Gradient Editor window.
Now, there are a number of different places where we can make adjustments to the contrast. The black and white box's on either side are called "colour stops". These act as controls for the gradient. If you click on the black colour stop, then click the colour itself underneath the opacity control, you can then change it to a lighter shade of grey. This will bring back some of the shadows. Likewise you can change the colour of the white colour stop to bring back some of the highlights.
Experiment a lot. You can also use this method for split toning outside of camera raw.Another point of adjustment is the "colour midpoint". If you click on one of the colour stops, a little diamond shape appears in between the colour stops. This can be dragged left or right to change the position of the gradient mid point. You can also manipulate the colour midpoint, and the colour stop by clicking on the location box at the bottom of the window and using the up and down arrow keys. I find this method far less painful, as it prevents accidentally creating a new colour stop. If you do accidentally create an unwanted colour stop, just click on it and hit delete.
Have fun and I hope you found this useful!
Geoff Jones Canberra ACT Australia fashion, portrait, beauty and commercial photographer.


![essence_of_beauty_by_eman333-d38u8o4[1]](https://images.squarespace-cdn.com/content/v1/543233bfe4b032a6638b0ab6/1412578070623-V0UXTK03H0H4OS6EFS73/Snow-Queen.jpg)